Astro SEO: The Complete Guide for 2026
A practical Astro SEO guide: meta tags, canonical URLs, sitemaps, robots.txt, JSON-LD structured data, images, fonts, redirects, and Core Web Vitals, with code.

In this guide
- Introduction
- Step 1: Set Your Site URL
- Step 2: Build a Reusable SEO Head Component
- Step 3: Add a Sitemap
- Step 4: Add robots.txt
- Step 5: Add Structured Data (JSON-LD)
- Step 6: Keep Important Content in the HTML
- Step 7: Optimize Images
- Step 8: Load Fonts Without Layout Shift
- Step 9: Handle Redirects and 404s
- Step 10: Add an RSS Feed
- Step 11: Build Internal Links
- Step 12: Measure Core Web Vitals
- Step 13: Submit to Search Console
- Astro SEO Checklist
- Use a Theme That Does the Groundwork
- Frequently Asked Questions
- Conclusion
Introduction
Astro gives you a head start on SEO. Pages are rendered to static HTML at build time, they ship very little JavaScript, and they are easy for search engines to crawl. But Astro does not add your meta tags, canonical URLs, sitemap, or structured data for you. Those are your job, or your theme's.
This guide walks through everything you need for strong technical SEO on an Astro site in 2026, with copy-paste code for each step. It assumes you know the basics of Astro. If not, start with our beginner's guide to Astro.
Step 1: Set Your Site URL
Everything else depends on this one line. Open astro.config.mjs and set site to your final production URL:
// astro.config.mjs
import { defineConfig } from 'astro/config';

export default defineConfig({
  site: 'https://www.example.com',
  trailingSlash: 'never',
});
Astro uses site to build absolute URLs for canonical tags, sitemaps, and RSS feeds, and Astro.site is undefined without it. Pick one version of your domain (with or without www) and redirect the other to it at your host.
trailingSlash is optional, but choosing 'always' or 'never' keeps your URLs consistent so the same page is not indexed twice.
Step 2: Build a Reusable SEO Head Component
Create one component that every layout uses. It outputs the title, description, canonical URL, and social tags:
---
// src/components/BaseHead.astro
interface Props {
  title: string;
  description: string;
  image?: string;
  noindex?: boolean;
}

const { title, description, image = '/og-image.png', noindex = false } = Astro.props;
const canonicalURL = new URL(Astro.url.pathname, Astro.site);
const ogImage = new URL(image, Astro.site);
---

<title>{title}</title>
<meta name="description" content={description} />
<link rel="canonical" href={canonicalURL} />
{noindex && <meta name="robots" content="noindex, follow" />}

<!-- Open Graph -->
<meta property="og:type" content="website" />
<meta property="og:url" content={canonicalURL} />
<meta property="og:title" content={title} />
<meta property="og:description" content={description} />
<meta property="og:image" content={ogImage} />

<!-- Twitter / X -->
<meta name="twitter:card" content="summary_large_image" />
<meta name="twitter:title" content={title} />
<meta name="twitter:description" content={description} />
<meta name="twitter:image" content={ogImage} />
Use it in your layout's <head>:
---
// src/layouts/Layout.astro
import BaseHead from '../components/BaseHead.astro';
const { title, description, image } = Astro.props;
---

<html lang="en">
  <head>
    <meta charset="utf-8" />
    <meta name="viewport" content="width=device-width, initial-scale=1" />
    <BaseHead title={title} description={description} image={image} />
  </head>
  <body>
    <slot />
  </body>
</html>
Writing good titles and descriptions:
- Keep titles under about 60 characters, with the main keyword near the start.
- Keep descriptions between about 140 and 160 characters, and write them for humans: they are your ad copy in search results.
- Make every page's title and description unique.
Step 3: Add a Sitemap
Install the official integration:
npx astro add sitemap
This adds sitemap() to your integrations. With site set, every build writes sitemap-index.xml to your output. Exclude pages that should not be indexed with the filter option:
// astro.config.mjs
import { defineConfig } from 'astro/config';
import sitemap from '@astrojs/sitemap';

export default defineConfig({
  site: 'https://www.example.com',
  integrations: [
    sitemap({
      filter: (page) => !page.includes('/thank-you'),
    }),
  ],
});
Never list a page in your sitemap that has a noindex tag. The two signals contradict each other.
Step 4: Add robots.txt
Create public/robots.txt. Files in public/ are served from the root of your site as-is:
User-agent: *
Allow: /

Sitemap: https://www.example.com/sitemap-index.xml
Use robots.txt to block crawling of genuinely private or useless areas, not to hide pages from search. A page blocked in robots.txt can still appear in results if other sites link to it. Use a noindex meta tag for that instead.
Step 5: Add Structured Data (JSON-LD)
Structured data helps search engines understand a page and makes it eligible for rich results such as FAQ answers, breadcrumbs, product prices, and article details. Build the object in the frontmatter and render it with set:html:
---
// src/layouts/BlogPost.astro
const { title, description, pubDate, updatedDate, heroImage } = Astro.props;

const schema = {
  '@context': 'https://schema.org',
  '@type': 'BlogPosting',
  headline: title,
  description,
  image: new URL(heroImage, Astro.site).href,
  datePublished: pubDate.toISOString(),
  dateModified: (updatedDate ?? pubDate).toISOString(),
  author: { '@type': 'Person', name: 'Your Name' },
  mainEntityOfPage: new URL(Astro.url.pathname, Astro.site).href,
};
---

<script type="application/ld+json" set:html={JSON.stringify(schema)} />
Useful schema types for Astro sites:
- BlogPosting or Article for posts.
- BreadcrumbList for any page below the homepage.
- FAQPage for pages with a real question-and-answer section.
- Product with Offer for things you sell.
- Organization or Person with WebSite on the homepage.
Important: render structured data on the server, as above. Injecting it with client-side JavaScript after the page loads means many crawlers never see it. Test every template with Google's Rich Results Test and check the raw HTML with "view source".
Step 6: Keep Important Content in the HTML
Astro islands let you add interactive components with client directives. Be careful with client:only: it skips server rendering entirely, so anything inside it is not in the HTML search engines receive. Keep headings, product lists, prices, and article text in server-rendered components, and reserve client:only for widgets that genuinely cannot run on the server.
A quick test: build your site, open a page in dist/, and search the HTML for your main content. If it is not there, crawlers will not reliably see it either.
Step 7: Optimize Images
Use Astro's <Image /> component for local images. It resizes, converts to modern formats, and sets width and height to prevent layout shift:
---
import { Image } from 'astro:assets';
import hero from '../assets/hero.jpg';
---

<Image src={hero} alt="Dashboard showing weekly signups by channel" />
- Write descriptive
alttext that explains what the image shows. It helps accessibility and image search. - Do not lazy-load the main hero image. It is usually your Largest Contentful Paint element.
- Use descriptive file names, such as
astro-blog-theme-homepage.pnginstead ofIMG_0042.png.
Step 8: Load Fonts Without Layout Shift
Fonts are a common cause of layout shift. Since Astro 6, the built-in Fonts API downloads the files, generates optimized fallbacks, and adds preload hints:
// astro.config.mjs
import { defineConfig, fontProviders } from 'astro/config';

export default defineConfig({
  fonts: [
    {
      name: 'Inter',
      cssVariable: '--font-inter',
      provider: fontProviders.fontsource(),
    },
  ],
});
---
import { Font } from 'astro:assets';
---

<Font cssVariable="--font-inter" preload />
Then use var(--font-inter) in your CSS.
Step 9: Handle Redirects and 404s
When you change a URL, redirect the old one so you keep its rankings. Astro supports redirects in the config:
// astro.config.mjs
export default defineConfig({
  redirects: {
    '/old-post': '/blog/new-post',
  },
});
For large migrations, set up permanent (301) redirects at your host as well. Create src/pages/404.astro so broken links land on a helpful page with links back to your main content.
Step 10: Add an RSS Feed
RSS helps readers and aggregators follow your content, and it gives search engines another way to discover new posts. The official package makes it a few lines:
npm install @astrojs/rss
// src/pages/rss.xml.js
import rss from '@astrojs/rss';
import { getCollection } from 'astro:content';

export async function GET(context) {
  const posts = await getCollection('blog');
  return rss({
    title: 'My Blog',
    description: 'Articles about building fast websites',
    site: context.site,
    items: posts.map((post) => ({
      title: post.data.title,
      description: post.data.description,
      pubDate: post.data.pubDate,
      link: `/blog/${post.id}/`,
    })),
  });
}
Step 11: Build Internal Links
Internal links are one of the most underrated SEO levers, and they are entirely in your control:
- Link related posts to each other from inside the body copy, with descriptive anchor text.
- Create category or hub pages that link out to every post on a topic.
- Link from your homepage to your most important pages.
- Make sure no page is an orphan that is reachable only through the sitemap.
If you manage content with content collections, you can generate "related posts" and category pages automatically from tags and categories.
Step 12: Measure Core Web Vitals
Core Web Vitals (LCP, CLS, and INP) are part of Google's page experience signals. Astro sites usually pass easily, but check:
- PageSpeed Insights for lab and field data on key pages.
- Google Search Console for real-user Core Web Vitals across your whole site.
- Third-party scripts: analytics, chat widgets, and embeds are the most common cause of slow Astro sites. Load them late, or only where needed.
Step 13: Submit to Search Console
Once you deploy (see our guide to deploying an Astro site):
- Verify your domain in Google Search Console and Bing Webmaster Tools.
- Submit your sitemap URL.
- Use URL Inspection on a few key pages to confirm they are indexable and render correctly.
- Check the Pages report regularly for "Crawled, currently not indexed" or "Duplicate" warnings.
Astro SEO Checklist
-
siteset inastro.config.mjsto the final domain - Unique title and meta description on every page
- Self-referencing canonical URL on every indexable page
- Open Graph and Twitter tags with a real image
- Sitemap generated and referenced in
robots.txt - JSON-LD rendered on the server and validated
- Important content in server-rendered HTML
- Images optimized with descriptive alt text
- Fonts loaded without layout shift
- Redirects for every changed URL
- RSS feed for the blog
- Internal links between related pages
- Core Web Vitals passing
- Sitemap submitted in Search Console
Use a Theme That Does the Groundwork
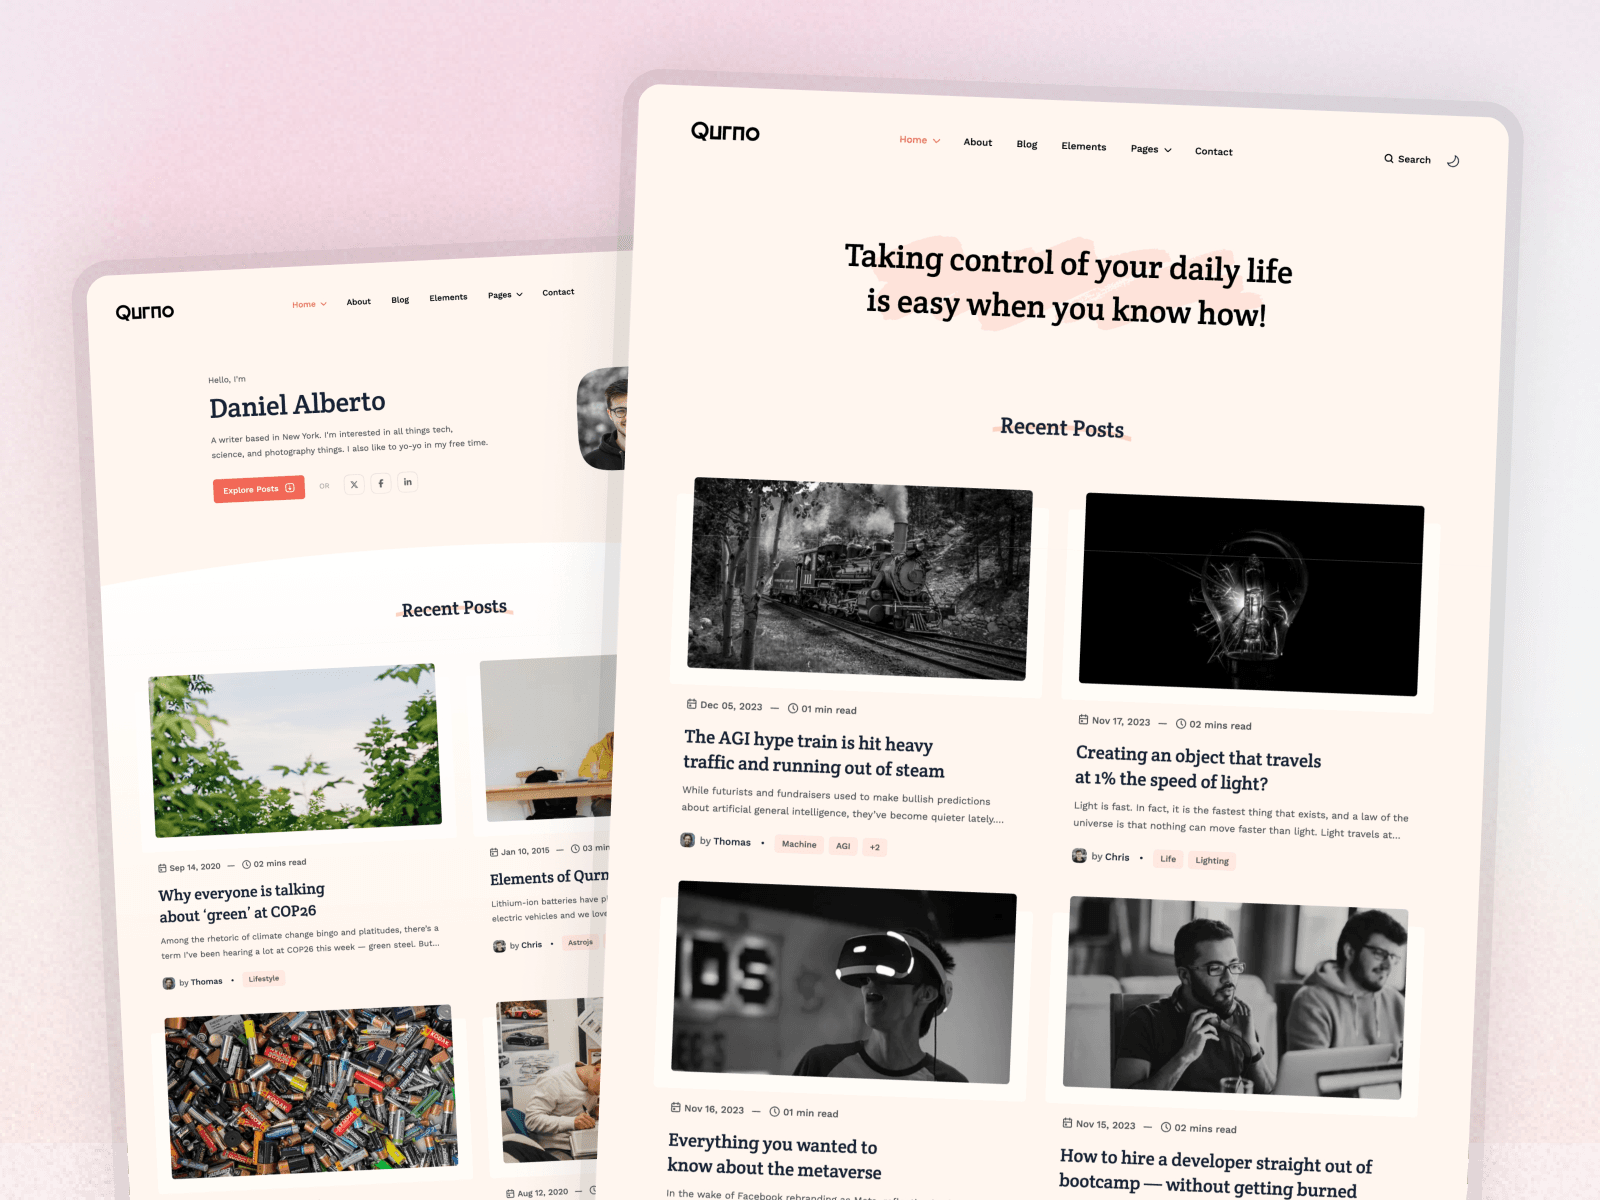
A good theme handles most of this checklist for you. Every Platoltheme Astro theme ships with semantic markup and SEO-friendly defaults, and Agento, for example, includes Open Graph cards, JSON-LD, an XML sitemap, robots.txt, and canonical URLs out of the box. For blogs, Qurno and Plake include RSS feeds and tag or topic archives that create strong internal linking automatically.
Frequently Asked Questions
Is Astro good for SEO?
Yes. Astro renders pages to static HTML by default, so search engines get complete content without running JavaScript, and its small JavaScript footprint makes it easy to pass Core Web Vitals. You still need to add meta tags, canonical URLs, a sitemap, and structured data yourself or through your theme.
Do I need an SEO plugin for Astro?
No. A small head component that outputs your title, description, canonical URL, and Open Graph tags covers most needs. Add the official @astrojs/sitemap integration for the sitemap. Community packages exist, but they are optional.
How do I add a sitemap to Astro?
Run npx astro add sitemap, set the site option in astro.config.mjs to your production URL, and build. Astro generates sitemap-index.xml, which you then reference in robots.txt and submit in Google Search Console.
How do I add structured data to an Astro page?
Build a JSON-LD object in the component frontmatter and render it with a script tag of type application/ld+json using set:html with JSON.stringify. Because Astro renders it on the server, it is in the HTML that crawlers read.
Why is my canonical URL wrong in Astro?
The most common cause is a missing or incorrect site value in astro.config.mjs. Astro.site is undefined without it, and canonical URLs built from it will be wrong. Set site to your final production domain, including https and the correct www or non-www version.
Conclusion
Astro handles the hardest part of technical SEO, fast, crawlable HTML, by default. Add a head component, a sitemap, robots.txt, server-rendered structured data, optimized images and fonts, and solid internal linking, and your site has everything search engines need. Then spend your time where rankings are really won: publishing genuinely useful content.