Astro Content Collections: The Complete Guide (2026)
Learn Astro content collections: content.config.ts, glob and file loaders, Zod schemas, images, references, querying, dynamic routes, and live collections.

In this guide
- Introduction
- Step 1: Create Your Content
- Step 2: Define Collections in content.config.ts
- Step 3: Add Images to Your Schema
- Step 4: Link Collections With reference()
- Step 5: Query Your Content
- Step 6: Generate a Page for Every Entry
- Step 7: Build Tag and Category Pages
- Step 8: Live Collections for Content That Changes
- A Note on Markdown Processing in Astro 7
- Common Errors and Fixes
- Get a Head Start
- Frequently Asked Questions
- Conclusion
Introduction
Content collections are the heart of most Astro sites. They turn a folder of Markdown files into typed, validated data you can query from any page. If a post is missing a title or has a date in the wrong format, the build fails with a clear error instead of shipping a broken page.
This guide covers everything you need to use content collections in 2026: defining collections, writing schemas, handling images and relationships, querying and rendering entries, generating pages, and the newer live collections for content that changes without a rebuild.
New to Astro? Start with our beginner's guide to Astro.
Step 1: Create Your Content
Content usually lives in src/content/, one folder per collection:
src/
├── content/
│   ├── blog/
│   │   ├── first-post.md
│   │   └── second-post.mdx
│   └── authors/
│       └── authors.json
└── content.config.ts
A blog post is a Markdown file with frontmatter:
---
title: "My First Post"
description: "A short summary for search results and cards."
pubDate: 2026-10-16
tags: ["astro", "web"]
draft: false
---

The post content goes here.
Step 2: Define Collections in content.config.ts
Create src/content.config.ts. Each collection needs a loader that says where the content lives and a schema that describes it:
// src/content.config.ts
import { defineCollection } from 'astro:content';
import { glob, file } from 'astro/loaders';
import { z } from 'astro/zod';

const blog = defineCollection({
  loader: glob({ pattern: '**/*.{md,mdx}', base: './src/content/blog' }),
  schema: z.object({
    title: z.string(),
    description: z.string().max(160),
    pubDate: z.coerce.date(),
    updatedDate: z.coerce.date().optional(),
    tags: z.array(z.string()).default([]),
    draft: z.boolean().default(false),
  }),
});

const authors = defineCollection({
  loader: file('src/content/authors/authors.json'),
  schema: z.object({
    name: z.string(),
    role: z.string(),
  }),
});

export const collections = { blog, authors };
A few things to notice:
glob()loads one entry per file.patternselects the files andbaseis the folder to search.file()loads many entries from a single JSON file. Each entry needs a uniqueid.zis imported fromastro/zod. Since Astro 6, schemas use Zod 4.z.coerce.date()turns the date string in your frontmatter into a realDate.
Step 3: Add Images to Your Schema
Use the image() helper to validate local images referenced in frontmatter. Astro checks that the file exists and lets you pass it straight to the <Image /> component:
const blog = defineCollection({
  loader: glob({ pattern: '**/*.{md,mdx}', base: './src/content/blog' }),
  schema: ({ image }) =>
    z.object({
      title: z.string(),
      cover: image(),
      coverAlt: z.string(),
    }),
});
In the post's frontmatter, use a path relative to the Markdown file:
---
title: "My First Post"
cover: "./images/first-post-cover.jpg"
coverAlt: "Laptop on a desk showing an Astro site"
---
Step 4: Link Collections With reference()
reference() creates a typed relationship between collections, for example a post's author or related posts:
import { defineCollection, reference } from 'astro:content';

const blog = defineCollection({
  loader: glob({ pattern: '**/*.{md,mdx}', base: './src/content/blog' }),
  schema: z.object({
    title: z.string(),
    author: reference('authors'),
    relatedPosts: z.array(reference('blog')).optional(),
  }),
});
In frontmatter, refer to entries by their id:
---
title: "My First Post"
author: "jane-doe"
relatedPosts: ["second-post"]
---
Astro validates that the referenced entries exist. Resolve them with getEntry() when you need the data.
Step 5: Query Your Content
Use getCollection() to get every entry, with an optional filter, and getEntry() to get one:
---
import { getCollection, getEntry } from 'astro:content';

const posts = (await getCollection('blog', ({ data }) => data.draft !== true))
  .sort((a, b) => b.data.pubDate.valueOf() - a.data.pubDate.valueOf());

const author = await getEntry('authors', 'jane-doe');
---

<ul>
  {posts.map((post) => (
    <li>
      <a href={`/blog/${post.id}/`}>{post.data.title}</a>
    </li>
  ))}
</ul>
Two details that trip people up:
- Sort explicitly. Collection results are not returned in a guaranteed order, so always sort by date or another field.
- Use
id, notslug. Entries have anidgenerated from the file name. To control the URL, add aslugfield to the frontmatter.
Step 6: Generate a Page for Every Entry
Collections live outside src/pages/, so you create the routes. For a static site, use getStaticPaths() in a dynamic route and render each entry with render():
---
// src/pages/blog/[id].astro
import { getCollection, render } from 'astro:content';
import Layout from '../../layouts/Layout.astro';

export async function getStaticPaths() {
  const posts = await getCollection('blog', ({ data }) => data.draft !== true);
  return posts.map((post) => ({
    params: { id: post.id },
    props: { post },
  }));
}

const { post } = Astro.props;
const { Content, headings } = await render(post);
---

<Layout title={post.data.title} description={post.data.description}>
  <article class="prose">
    <h1>{post.data.title}</h1>
    <Content />
  </article>
</Layout>
render() returns the Content component and the list of headings, which is handy for building a table of contents. If your IDs contain slashes, for example posts in nested folders, name the file [...id].astro instead.
Step 7: Build Tag and Category Pages
Because every entry is typed, archive pages take a few lines:
---
// src/pages/tags/[tag].astro
import { getCollection } from 'astro:content';

export async function getStaticPaths() {
  const posts = await getCollection('blog');
  const tags = [...new Set(posts.flatMap((post) => post.data.tags))];

  return tags.map((tag) => ({
    params: { tag },
    props: { posts: posts.filter((post) => post.data.tags.includes(tag)) },
  }));
}

const { tag } = Astro.params;
const { posts } = Astro.props;
---

<h1>Posts tagged {tag}</h1>
Archive pages also give search engines more entry points into your content. Our Astro SEO guide explains why that internal linking matters.
Step 8: Live Collections for Content That Changes
Build-time collections are read once, during the build. If your content comes from a CMS or API and must update without a rebuild, use live content collections, which became stable in Astro 6. They need on-demand rendering (an adapter) and are defined in a separate file:
// src/live.config.ts
import { defineLiveCollection } from 'astro:content';
import { z } from 'astro/zod';
import { cmsLoader } from './loaders/my-cms';

const updates = defineLiveCollection({
  loader: cmsLoader({ apiKey: process.env.MY_API_KEY }),
  schema: z.object({
    slug: z.string(),
    title: z.string(),
    publishedAt: z.coerce.date(),
  }),
});

export const collections = { updates };
Query them with getLiveCollection() and getLiveEntry(), which return an error you should handle. Build-time and live collections can live side by side in the same project.
A Note on Markdown Processing in Astro 7
Astro 7 introduced a new Rust-based Markdown and MDX pipeline that is faster and supports common features such as GitHub-flavored Markdown and heading IDs out of the box. If your project relies on remark or rehype plugins, check the Astro 7 upgrade guide for how to keep using the unified pipeline.
Common Errors and Fixes
- "Collection does not exist": the config file must be
src/content.config.ts(not the legacysrc/content/config.ts), and the collection name must match the key in the exportedcollectionsobject. - Frontmatter validation error: read the message carefully; it names the file and the field. Usually a required field is missing or a date is in the wrong format.
- Type errors after changing the schema: restart the dev server or run
npx astro syncto regenerate types. - Posts in the wrong order: sort the results of
getCollection()yourself.
Get a Head Start
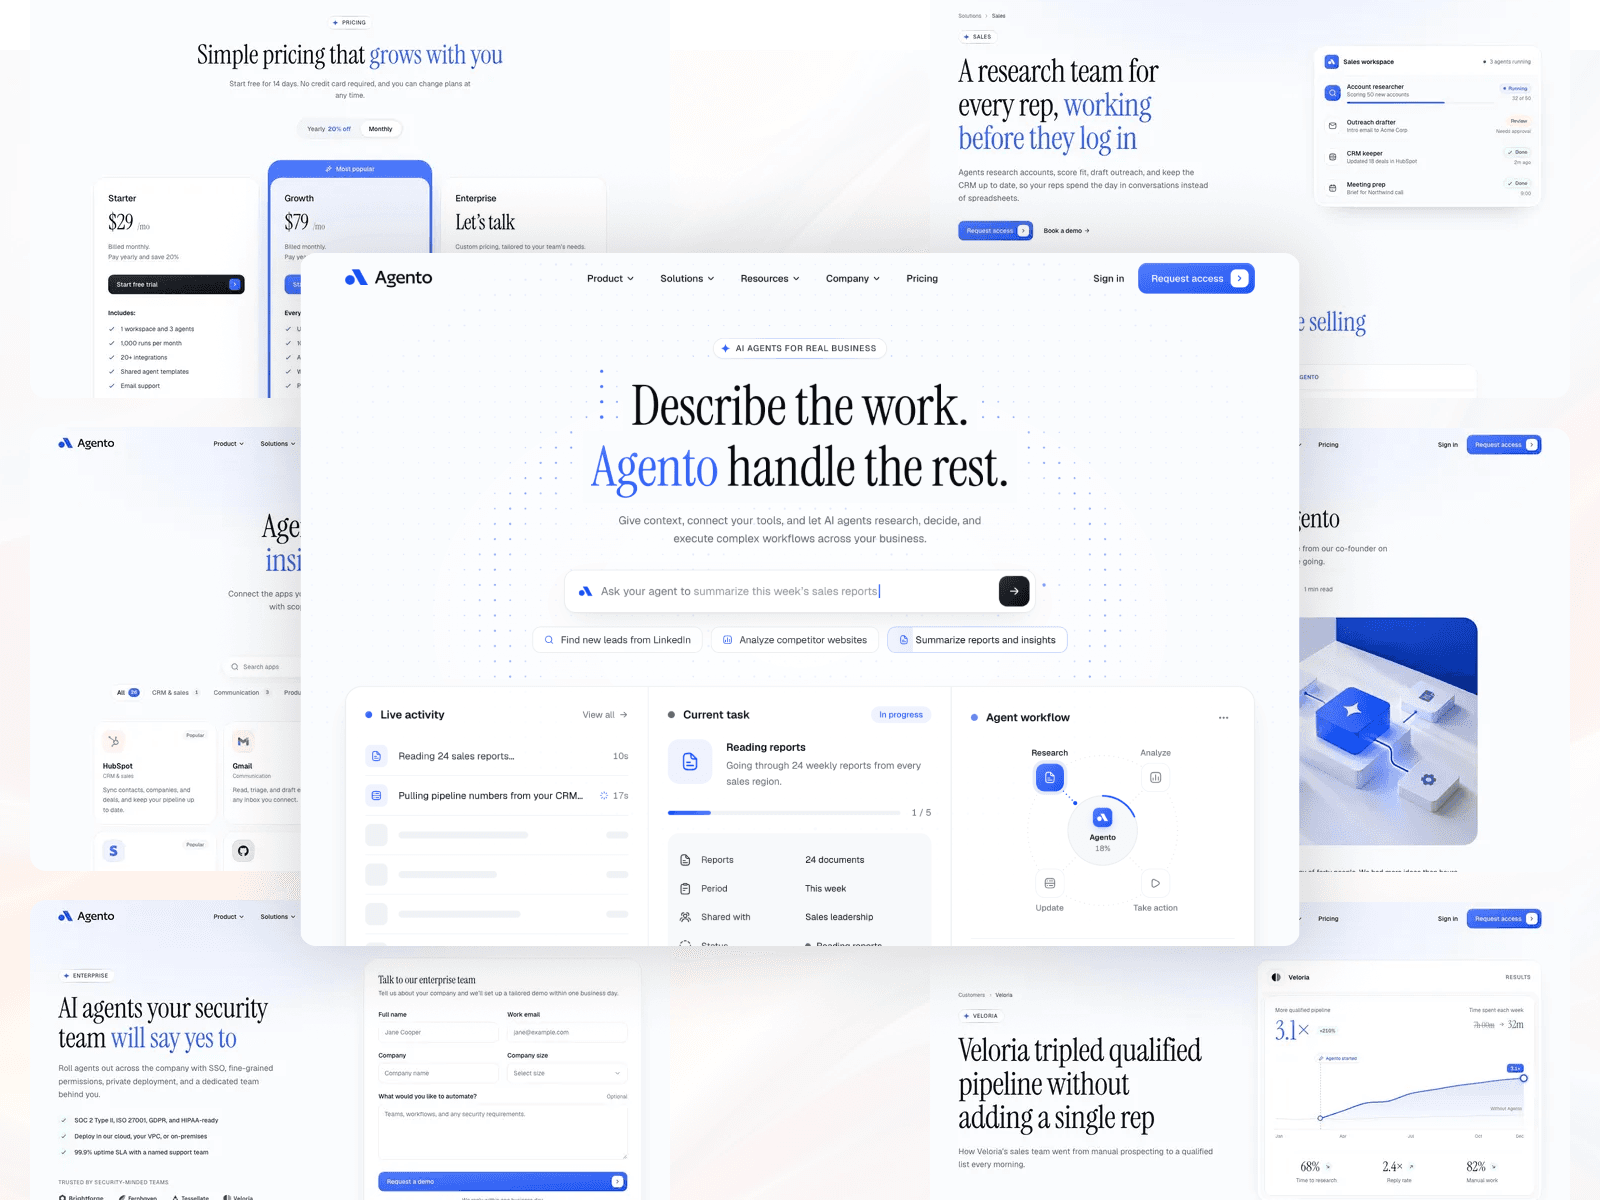
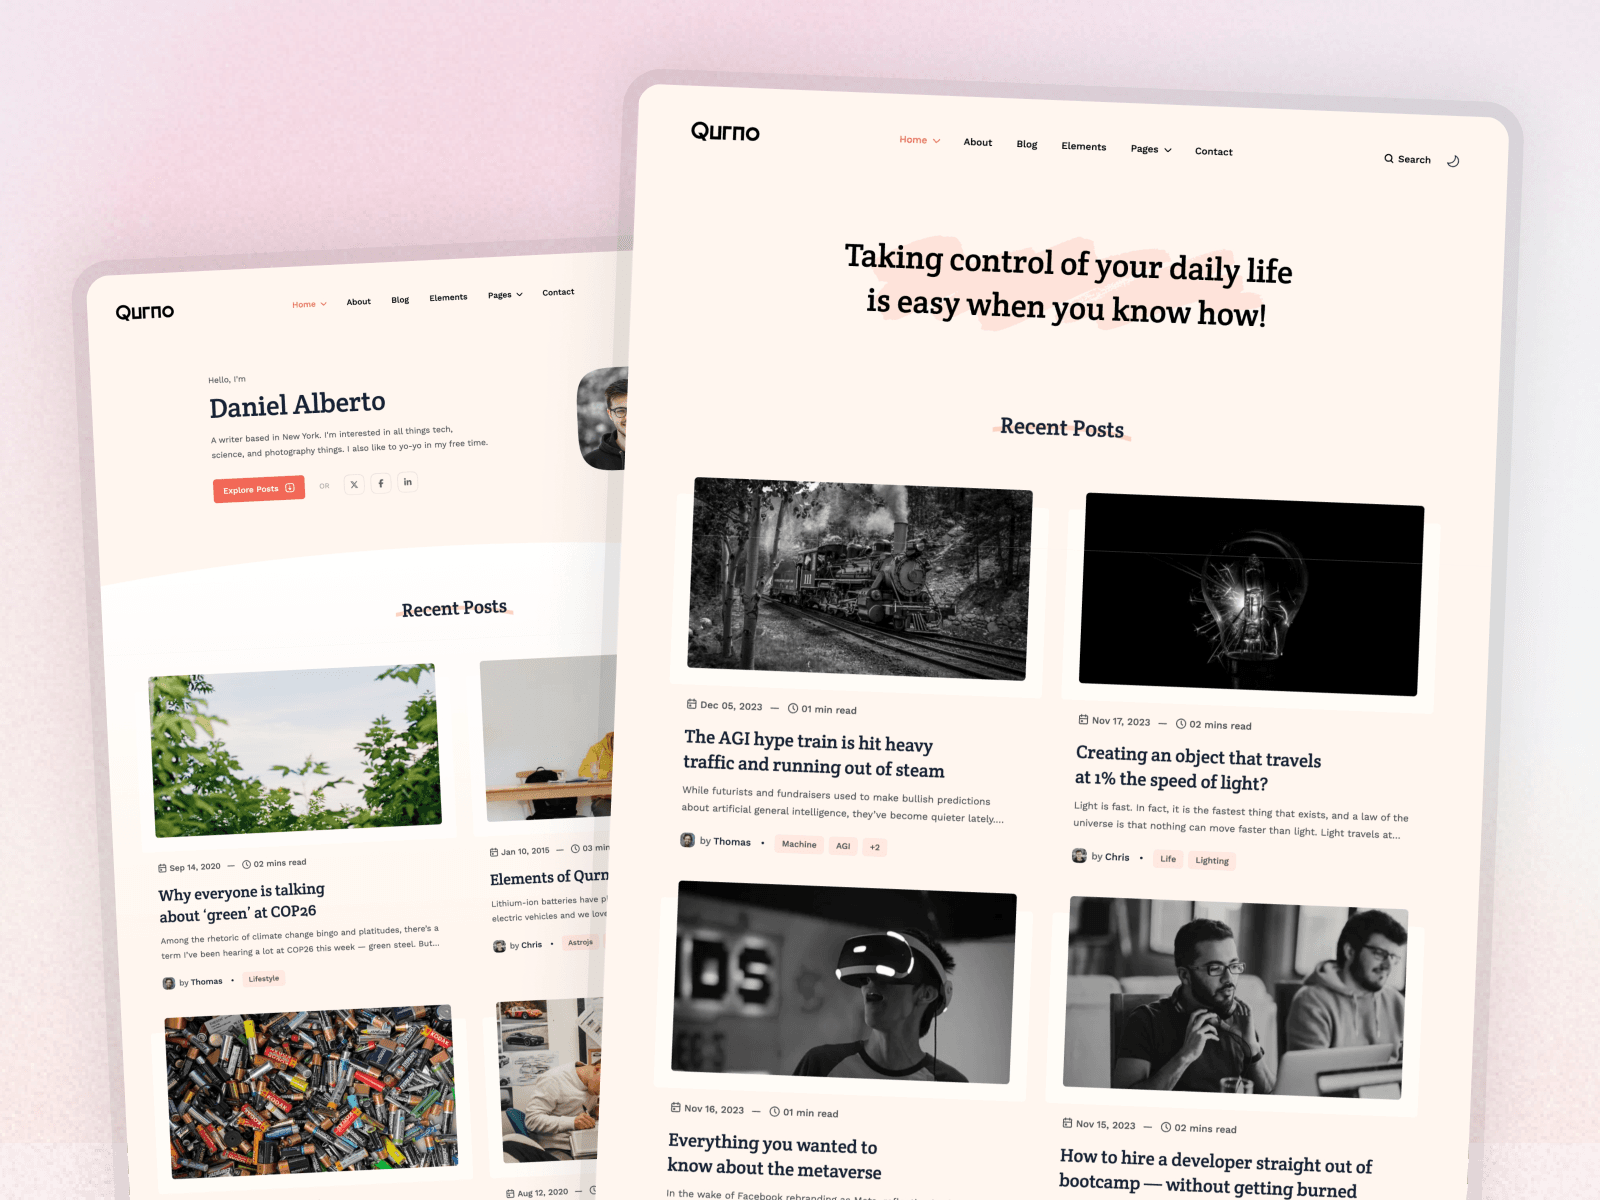
Every Platoltheme Astro theme is built on content collections with schemas already written for posts, projects, authors, and pages. Agento goes furthest: every page's copy lives in MDX files validated by Zod schemas at build time, generating more than 200 pages. For blogs, Qurno and Plake ship tag, category, and topic archives built from collections, ready for your content.
Frequently Asked Questions
What are content collections in Astro?
Content collections are Astro's way of managing groups of content, such as blog posts, projects, or authors. You define each collection in src/content.config.ts with a loader that says where the content lives and a Zod schema that validates it, then query it with type-safe helpers like getCollection and getEntry.
Where do I define content collections?
In src/content.config.ts at the root of your src folder. Import defineCollection from astro:content, the glob or file loader from astro/loaders, and z from astro/zod, then export a collections object.
Do Astro collection entries still have a slug?
No. Entries have an id, generated from the file name by the glob loader. If you want a custom URL, add a slug field to the frontmatter and the id will use it.
Can I load JSON or YAML data into a collection?
Yes. Use the file() loader to load many entries from a single JSON file, or the glob() loader with a pattern for one entry per JSON or YAML file. Each entry in a single file needs a unique id.
What are live content collections?
Live content collections, stable since Astro 6, fetch content at request time instead of build time, so content from a CMS or API can update without a rebuild. They are defined in src/live.config.ts with defineLiveCollection and queried with getLiveCollection and getLiveEntry.
Conclusion
Content collections give your Astro site a typed, validated content layer with almost no setup: define a loader and a schema, query with getCollection(), render with render(), and generate routes with getStaticPaths(). Add image() and reference() as your content grows, and reach for live collections when content must update without a rebuild.
Next, style your content with our Astro + Tailwind CSS guide, or connect a visual editor with our guide to the best CMS for Astro.